
Time:2025.11.14Browse:1
Printer printing smearing—where ink or toner leaves blurry, trailing marks behind text or images—ruins document readability and wastes supplies. This issue affects all printer types (inkjet, laser, dot-matrix) and stems from hardware flaws, incorrect settings, or low-quality materials. Resolving smearing requires targeted fixes based on the printer type, ensuring clean, crisp output.
For Inkjet Printers
Inkjet smearing often results from wet ink not drying properly, clogged nozzles, or incompatible paper.
Adjust Drying Time: Access the printer’s “Printing Preferences” (via Control Panel or software) and enable “Extended Drying Time” or select a slower print speed. This gives ink more time to absorb into paper, especially critical for glossy photo paper or thick cardstock.
Run Nozzle Checks and Cleaning: Clogged nozzles cause uneven ink flow, leading to smudges. Use the printer’s built-in “Nozzle Check” tool to identify blockages, then run a “Head Cleaning” cycle (standard or deep clean). For persistent clogs, manually clean the printhead with isopropyl alcohol (as outlined in earlier sections) to remove dried ink.
Use Compatible Paper: Low-quality or non-recommended paper (e.g., regular paper for photo printing) absorbs ink poorly. Opt for printer-specific paper—look for “inkjet-compatible” labels—and ensure it matches the print setting (e.g., “Photo Paper” for glossy prints). Avoid damp paper, which causes ink to spread.
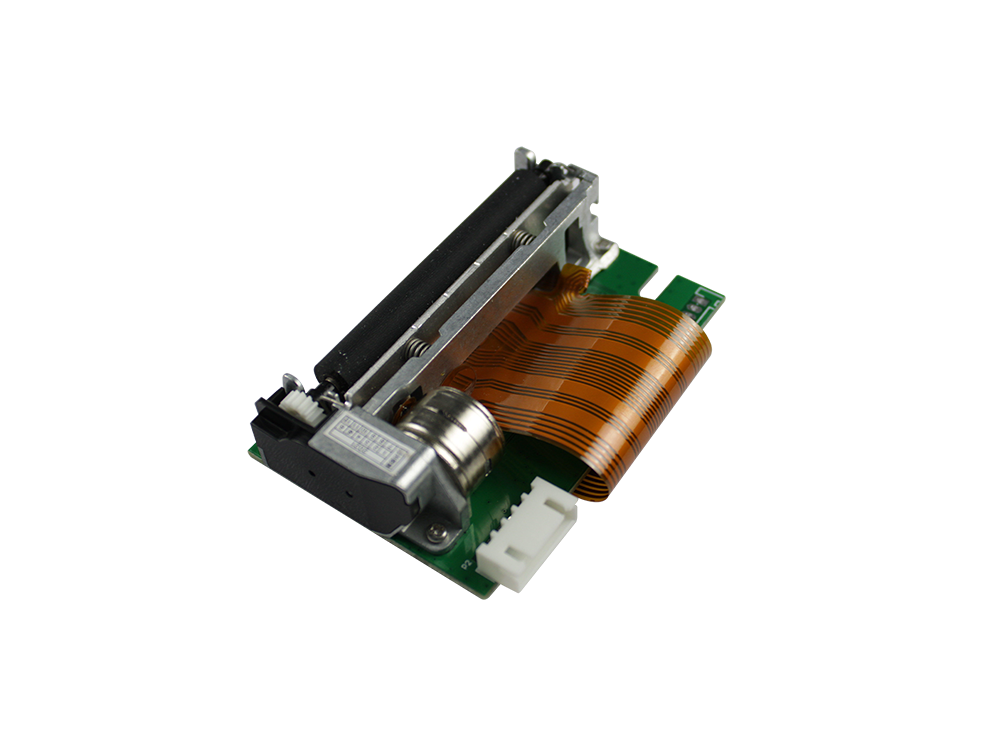
For Laser Printers
Laser smearing typically involves a faulty fuser unit, low toner, or worn transfer roller.
Inspect the Fuser Unit: The fuser bonds toner to paper with heat; a cold or worn fuser leaves toner unbonded and smudgy. Turn off the printer, let it cool, then access the fuser (rear cover for most models). Check for toner residue on the fuser roller—clean it with a lint-free cloth dampened with isopropyl alcohol. If the roller is cracked or worn, replace the fuser assembly (consult the manual for compatibility).
Check Toner Levels and Quality: Low or counterfeit toner may have inconsistent particle size, leading to smearing. Replace empty or low toner cartridges with genuine ones, and shake cartridges gently before installation to redistribute toner.
Clean the Transfer Roller: The transfer roller moves toner from the drum to paper; a dirty roller causes uneven toner transfer. Locate the roller (near the toner cartridge) and wipe it with a dry, lint-free cloth—avoid alcohol, which can damage the rubber surface.
For Dot-Matrix Printers
Dot-matrix smearing usually comes from worn ribbons, incorrect printhead pressure, or dirty needles.
Replace the Ribbon: Old, dried ribbons leave faint, smudged ink. Install a new, compatible ribbon, ensuring it is threaded correctly through the printhead mechanism.
Adjust Printhead Pressure: Too much pressure presses the printhead into the ribbon, causing ink to bleed. Use the printer’s control panel to reduce “Print Density” or “Head Pressure” incrementally, testing prints after each adjustment.
Clean the Printhead Needles: Ink buildup on needles causes smearing. Remove the printhead, clean the needles with a lint-free swab dipped in isopropyl alcohol, and ensure no debris blocks the needle guide plate holes.
General Fixes
Update Firmware: Outdated printer firmware can cause processing errors leading to smearing—download updates from the manufacturer’s website.
Check Paper Path: Remove paper jams, clear debris from the paper tray, and ensure paper is loaded correctly (not overfilled) to prevent misfeeds that cause smudging.
Test with a Different Document: Smearing limited to one file may indicate a corrupted document—recreate the file or print a test page to isolate the issue.
By addressing these printer-specific causes, users can eliminate smearing and restore professional print quality.
Read recommendations:


Building C, Bairongda, Ma'anshan, Bao'an District, Shenzhen City, Guangdong Province
Tel:18823301751
Service Hotline:400-008-8930


 2025-09-02