
Time:2025.11.06Browse:1
Setting up a wireless printer’s WiFi connection eliminates cable clutter and enables multi-device printing (laptops, smartphones, tablets), but requires careful network configuration to avoid connectivity drops. The process varies slightly by brand (HP, Epson, Brother) but follows a universal workflow: preparing the printer, connecting to the WiFi network, and installing drivers on client devices.
First, prepare the printer: turn it on, load paper, and ensure it’s in "WiFi Setup Mode"—most models activate this via a dedicated button (e.g., HP’s "Wireless" button blinking blue) or through the control panel (navigate to "Settings" > "Network" > "WiFi Setup"). For printers without a screen (e.g., compact inkjets), use the WPS (Wi-Fi Protected Setup) method: press the WPS button on your router, then press the printer’s WPS button within 2 minutes—they will auto-pair, indicated by a steady WiFi light on the printer.
If WPS isn’t supported, use the manufacturer’s app for guided setup: download HP Smart (iOS/Android), Epson iPrint, or Brother iPrint&Scan, and follow prompts to select your WiFi network (2.4GHz only—most printers don’t support 5GHz) and enter the password. Ensure the printer and client device are on the same network; avoid public WiFi, as it may block printer communication. After connecting, install the printer driver on your computer: for Windows, go to "Settings" > "Bluetooth & Devices" > "Add a Device"; for macOS, use "System Settings" > "Printers & Scanners" > "Add Printer or Scanner."
Test the connection by printing a network configuration page (via the printer’s control panel) to confirm the IP address, then send a test document from your phone or laptop. A home user with an Epson EcoTank wireless printer reported that using the app reduced setup time to 10 minutes, compared to 30 minutes with manual router configuration. Troubleshoot connectivity issues by restarting the printer/router, checking WiFi signal strength (move the printer within 10 meters of the router), or updating the printer’s firmware.
Read recommendations:
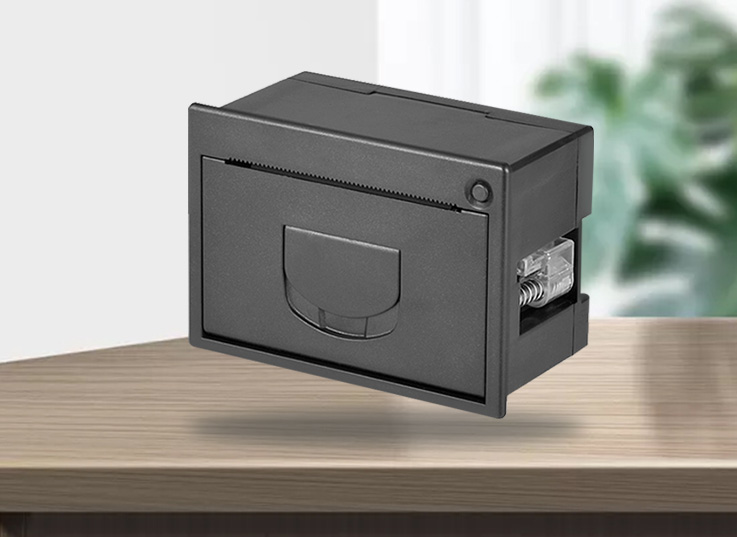
Streamline Logistics with Our Fast - Printing Integrated Panel Thermal Printer


Building C, Bairongda, Ma'anshan, Bao'an District, Shenzhen City, Guangdong Province
Tel:18823301751
Service Hotline:400-008-8930


 2022-11-26