
Time:2025.11.18Browse:1
Home color printers (mostly inkjet, some entry-level laser) deliver vibrant prints for photos, documents, or crafts—but quality often degrades over time due to ink issues, settings, or maintenance gaps. Optimizing print quality balances color accuracy, sharpness, and cost, with steps tailored to common home use cases (e.g., photo printing, school projects).
1. Choose the right print settings
The “Print Quality” setting is the most impactful:
For photos or high-detail graphics: Select “High Quality” or “Photo Quality” (300-600 DPI). This uses more ink but produces sharp colors and fine details—ideal for printing family photos or art. Ensure the “Paper Type” matches (e.g., “Glossy Photo Paper” for glossy media)—using the wrong setting causes ink bleed or faded colors.
For everyday documents (e.g., school worksheets, emails): Use “Normal Quality” (150-300 DPI) and “Plain Paper.” This saves ink while maintaining readability—avoid “Draft Quality” for important documents, as it produces faint, blurry text.
Adjust color settings: In “Printing Preferences,” use “Color Calibration” to fix tint issues (e.g., yellowish photos). Most printers include presets like “Vivid” (for bold colors) or “Natural” (for accurate photo tones)—test both to find your preference. For example, “Natural” is better for family photos, while “Vivid” works for craft projects like greeting cards.
2. Maintain ink supplies
Low or expired ink is the top cause of poor color quality:
Use OEM or high-quality third-party ink: Generic ink often has inconsistent pigment levels, leading to streaky colors or color mismatches. For example, a generic cyan cartridge may print as blue, ruining photo accuracy.
Replace ink before it’s empty: Most printers warn of low ink at 10-15% remaining—replace immediately, as running on empty causes air bubbles in the print head (leading to clogs). For inkjet printers, avoid leaving cartridges unused for over a month—dried ink clogs nozzles and disrupts color flow.
3. Clean and align components
Regular maintenance prevents color distortion:
Clean print heads: Access the “Head Cleaning” tool (in “Maintenance”) if prints have missing color bands or streaks. Run a standard clean first—if issues persist, use “Deep Cleaning” (note: this uses more ink). For example, if a photo has pink streaks (missing cyan), cleaning the cyan print head nozzle resolves it.
Align print heads: Misaligned heads cause color overlapping (e.g., red text with blue edges). Use the “Print Head Alignment” tool—this prints a grid of color lines; the printer adjusts to ensure lines are sharp and aligned.
Clean the paper path: Dust in the printer causes color smudges. Power off the printer, open the cover, and wipe the paper guides with a dry cloth—remove any paper scraps or ink residue.
4. Optimize source files
Poor-quality source images (e.g., low-resolution photos) lead to blurry prints:
Use high-resolution files: For photos, aim for 300 DPI (dots per inch)—files from smartphones (usually 72-150 DPI) may print blurry. Use photo-editing software like Photoshop or GIMP to resize images to 300 DPI before printing.
Fix color issues in software: Adjust brightness, contrast, and saturation in the source file (e.g., dark photos can be brightened) to avoid over-reliance on printer settings. This ensures the print matches your desired look.
Read recommendations:
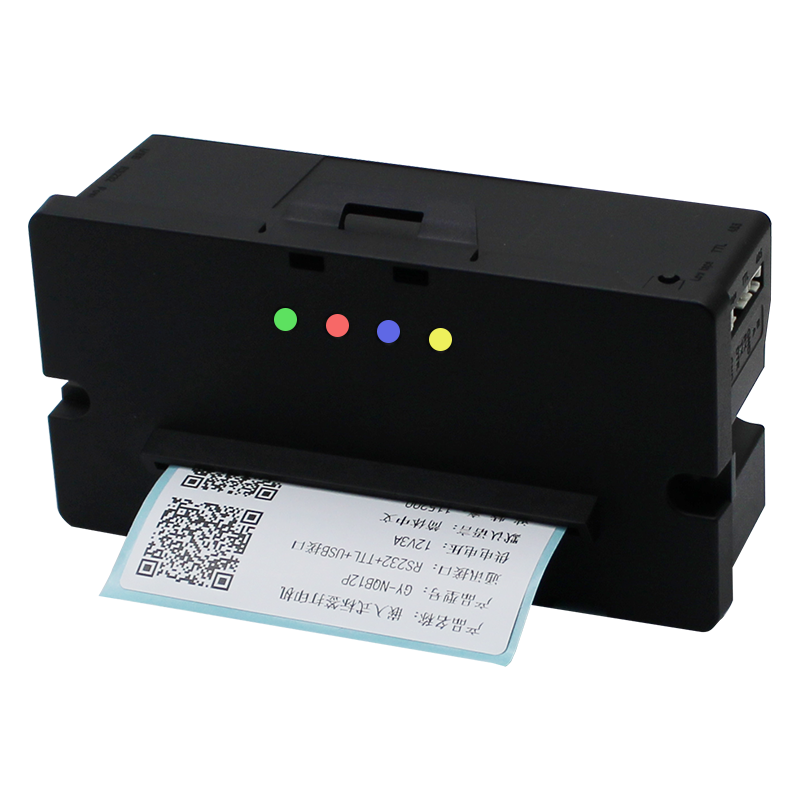
80mm Embedded Thermal Printers for Warehouse Inventory Labeling


Building C, Bairongda, Ma'anshan, Bao'an District, Shenzhen City, Guangdong Province
Tel:18823301751
Service Hotline:400-008-8930


 2025-05-21