
Time:2025.11.18Browse:1
The print head is the core component of a color inkjet printer—responsible for spraying cyan, magenta, yellow, and black (CMYK) ink onto paper. Print head detection is the process of identifying issues like clogs, misalignment, or wear, which cause problems like missing colors, streaks, or faded prints. Most printers have built-in detection tools, with manual checks for deeper diagnostics.
1. Built-in nozzle check (primary detection method)
All color inkjet printers include a “Nozzle Check” tool—fast, easy, and effective for identifying clogs:
Access the tool: Navigate to the printer’s “Maintenance” menu (via control panel, printer software like Epson Scan 2, or OS settings). Select “Nozzle Check” and confirm— the printer prints a test pattern: a grid of horizontal lines for each color (cyan, magenta, yellow, black) and vertical lines for alignment.
Interpret the pattern:
Solid, unbroken lines: No issues—print head is functioning correctly.
Missing segments or gaps: Clogged nozzles (e.g., a gap in the cyan line means the cyan nozzle is blocked).
Faint lines: Low ink or partial clogs (e.g., a faint black line indicates the black nozzle is partially blocked).
Misaligned lines: Print head is offset (e.g., cyan lines overlapping with magenta lines).
2. Print head alignment detection
Misaligned print heads cause color distortion (e.g., blurry edges or color fringing). Detection is done via the “Print Head Alignment” tool:
Run the tool: In the “Maintenance” menu, select “Print Head Alignment.” The printer prints a page with numbered alignment patterns (usually grids or lines) for each color.
Select the sharpest pattern: Follow on-screen prompts to choose the pattern with the clearest, most aligned lines (e.g., pattern 3 may have straight cyan and magenta lines, while pattern 5 has overlapping lines). The printer uses this selection to auto-adjust alignment.
Verify results: Print a test document (e.g., a color photo or text with colored highlights) to check if edges are sharp and colors are aligned. If distortion remains, re-run the alignment or clean the print head (clogs can mimic alignment issues).
3. Manual print head inspection (for advanced users)
For persistent issues, manual inspection reveals physical damage (e.g., bent nozzles or ink buildup):
Prepare safely: Power off the printer, unplug it, and wait 10 minutes. Wear lint-free gloves to avoid oil transfer to the print head.
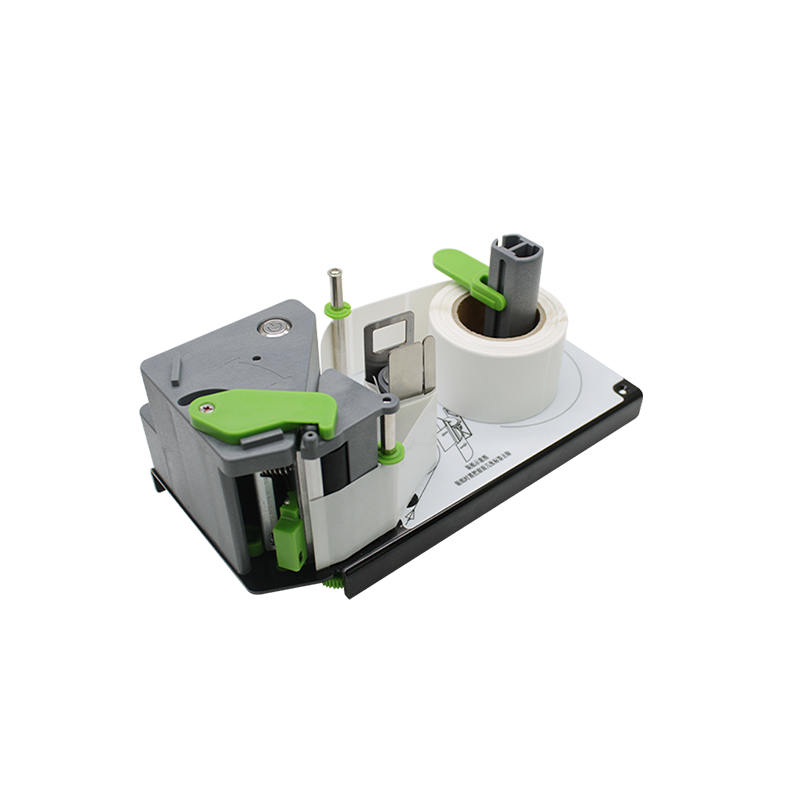
Access the print head: For printers with removable print heads (e.g., Epson EcoTank), open the cover, remove the ink cartridges, and gently lift the print head (follow the manual to avoid damage). For non-removable heads (e.g., HP DeskJet), you’ll inspect it in-place.
Check for issues:
Ink buildup: Look for dried ink on the nozzle plate (the flat, metal surface with tiny holes). Buildup appears as dark spots or crust—use a cotton swab dampened with distilled water to gently wipe it away (never use alcohol, which damages the plate).
Physical damage: Check for bent or broken nozzles (rare, but caused by rough handling). Bent nozzles appear as misaligned holes—if found, the print head needs replacement (contact the manufacturer).
Color leakage: Look for ink seeping between color channels (e.g., cyan ink on the magenta section)—this indicates a damaged seal, requiring print head replacement.
4. Error code detection
Modern printers display error codes for severe print head issues:
Common codes: “Print Head Error” (Epson), “Ink System Failure” (HP), or “Check Print Head” (Canon). These indicate major problems like electrical failure or irreparable clogs.
Troubleshooting: First, turn off the printer, wait 30 seconds, and restart—this resets minor electrical glitches. If the code persists, run a “Deep Cleaning” cycle (in “Maintenance”) to clear stubborn clogs. If the code remains, contact technical support— the print head may need repair or replacement.
Read recommendations:
80mm Front Panel Thermal Printer with auto cutter for retail POS
mobile thermal printer Procurement.Home Small Printers That Can Connect to Mobile Phones


Building C, Bairongda, Ma'anshan, Bao'an District, Shenzhen City, Guangdong Province
Tel:18823301751
Service Hotline:400-008-8930


 2024-12-28